
So, you’re making stuffing from scratch—mad respect. You’ve decided to skip the bagged cubes and go for the real deal, which means you need dry bread. Not just "left out on the counter for a few hours" dry, but properly, delightfully stale bread that soaks up broth like a sponge.
Why Fresh Bread is the Enemy of Good Stuffing
Let’s be real: fresh bread in stuffing turns into a mushy, sad paste. You don’t want that—you want fluffy, flavorful bits that hold their shape.
Think of it this way: dry bread is like a tiny, happy sponge for all that butter and herb goodness. Fresh bread is just a soggy, defeated towel.
Must Read
So, we oven-dry it. It’s easy, it’s fast, and it gives you complete control. Plus, you get to fill your kitchen with the smell of toasty carbs.
Step One: Pick Your Bread (No Judgment)
Any bread works, but sourdough, French bread, or a nice country loaf are rock stars. White sandwich bread? Totally fine, just not as fancy.
Day-old bread is ideal, but don’t stress if yours is fresh. The oven will fix it. That’s the magic of modern appliances—and a little patience.
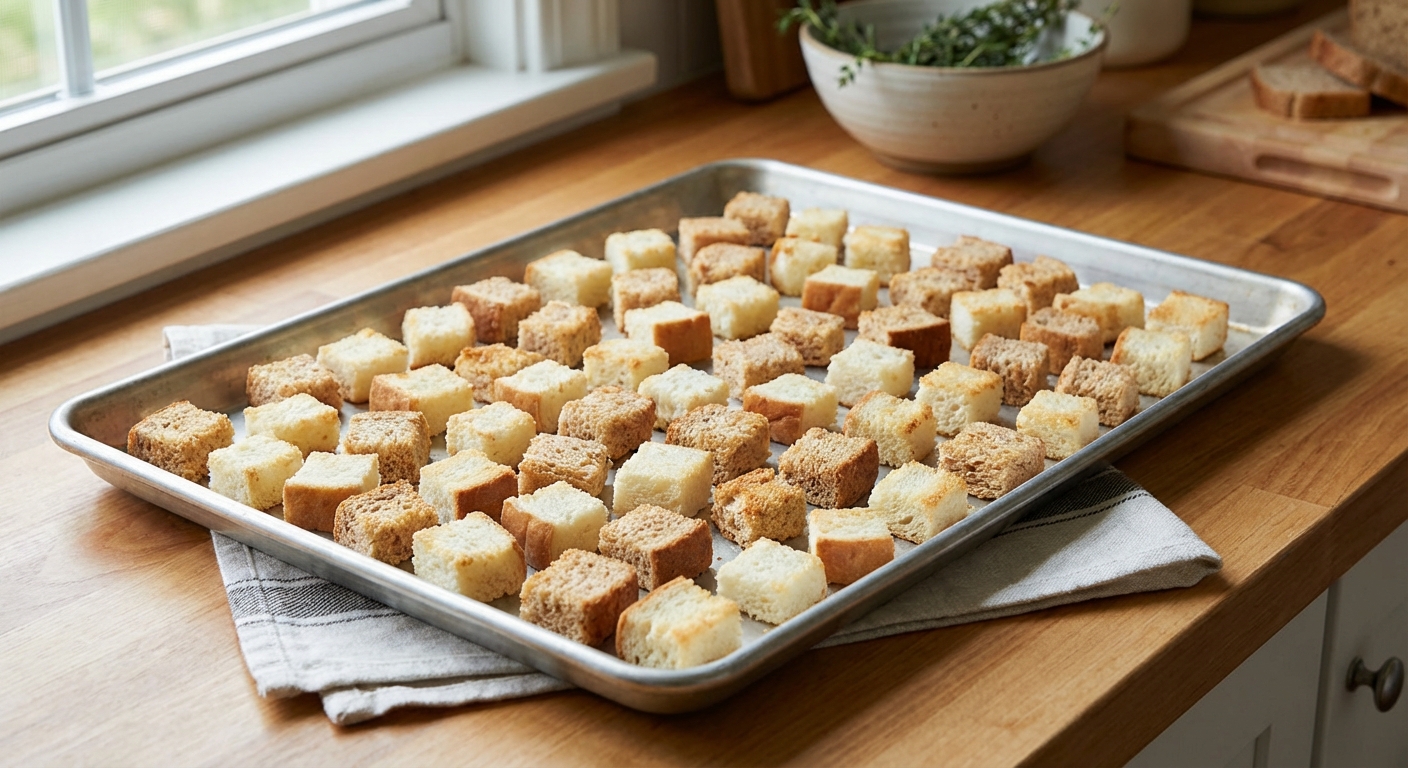
Cut or tear your bread into even, one-inch chunks. Uneven pieces mean some will burn while others stay soft, and nobody wants a stuffing with burnt edges and a soggy middle. That’s just chaotic energy.
Step Two: Spread the Joy (Literally)
Preheat your oven to 300°F (150°C). Not higher—you’re drying, not toasting. Think gentle, like a warm hug, not a sizzling pan.
Spread your bread cubes in a single layer on a baking sheet. If they’re piled up, they’ll steam each other, and you’ll get damp, sad bread. That’s a tragedy.
Pro tip: Line the sheet with parchment paper for easy cleanup. Future you will send past you a thank-you note.
Step Four: The Bake (No Fuss, Just Time)
Pop that tray in the oven and bake for 10 to 15 minutes. Give it a good stir halfway through, like you’re flipping a pancake that’s too proud of itself.
You’re looking for bread that’s dry all the way through—no soft centers. A little golden color is fine, but you don’t want toast.
The test? Pick up a cube and snap it. If it cracks like a tiny, delicious rock, you’re golden. If it bends, give it five more minutes.
 Classic Savory Herb Stuffing
Step Five: Cool Down (Resist the Urge)
Once they’re out of the oven, let the cubes cool completely on the baking sheet. Hot bread will continue to cook and might over-dry.
Also, hot bread smells amazing, and you might be tempted to eat a handful. Don’t—unless you want to be that person who ruins their appetite for stuffing. (It’s a valid choice, honestly.)
Cooled bread cubes can be stored in an airtight bag for a day or two. Or you can pour your broth and butter right over them and get to work.
The "Oops, I Burned Them" Rescue Plan
Hey, it happens. You get distracted by a funny cat video, and suddenly your bread looks like charcoal briquettes. It’s okay—we’ve all been there.
If only the edges are dark, just scrape off the burned bits. The inside is still fine. If they’re fully blackened, start over. Burnt bread tastes like regret and ash.
But here’s a secret: slightly over-toasted bread can add a smoky note to your stuffing. Embrace the chaos—just don’t tell your guests.
Flavor Boost (Because You’re Fancy)
Before baking, toss your bread cubes with a little melted butter, garlic powder, and dried herbs like thyme or sage. This infuses the bread while it dries.
It’s like giving your bread a spa day, but with butter and herbs instead of cucumber slices. Your stuffing will taste like you spent hours on it.
Just don’t overdo the salt—your broth will add plenty later. Trust the process, my friend.
Why This Beats Store-Bought Cubes
Store-bought stuffing cubes are often bland, dusty, and weirdly uniform. They taste like a cardboard box that once dreamed of being bread.
 How To Make Bread Cubes For Stuffing In Oven at Susan Cochrane blog
When you dry your own, you control the texture, the seasoning, and the vibe. Your stuffing will have personality—crispy edges, soft centers, and real bread flavor.
Plus, you get to feel like a kitchen wizard. “Oh, this? I dried the bread myself.” Cue impressed dinner guests.
The Best Part: The Leftovers Game
Once you’ve mastered this, you’ll never buy stale bread again. You’ll look at a leftover loaf and think, “You’re going to be stuffing soon.”
You can even dry extra batches and freeze them for months. Future you will be so proud. When holiday chaos hits, you’ll already be ahead.
And let’s be honest: the smell of toasty bread and butter is basically a hug for your soul. Your kitchen will feel like a cozy bakery.
A Final, Silly Note on Timing
Don’t dry your bread the morning of the big meal unless you love stress. Do it a day or two before—future you will do a happy dance.
If you forget until the last minute, don’t panic. Crank the oven to 350°F and bake for 8 minutes, stirring twice. It’ll be fine. You’ve got this.
And if all else fails? Just buy a baguette, tear it up, and pretend you planned it. We won’t tell.
So go ahead—get that bread, dry it out, and make the stuffing of your dreams. You’re one step closer to a holiday feast that tastes like love, laughter, and a little bit of crunch.
And remember: stuffing is the real star of the table. Turkey is just its trusty sidekick. You’re the hero the bread deserved all along.
Happy drying, stuffing champion. You’ve got this.