
Have you ever looked at a juicy, red tomato and thought, “I could make another you”? Well, you absolutely can. It’s one of the simplest, most satisfying little experiments in the kitchen. Seriously, you don’t need a fancy greenhouse or a degree in botany—just a ripe tomato and a bit of patience.
Let’s start with the obvious question: why bother? Why not just buy a seed packet? Because this feels like magic. You’re taking a piece of your lunch and turning it into a whole new plant. It’s like cloning, but for your salad.
The Slice-and-Plant Method
First, grab a tomato that looks like it’s ready to burst. Heirloom varieties work best because they aren’t hybrids bred to resist sprouting. Just slice a thick slice from the middle—about a quarter-inch thick—and place it flat on top of some good potting soil.
Must Read
Cover that slice with a thin layer of soil—maybe half an inch—and give it a gentle drink of water. No, you don’t need to remove the seeds. The whole point is that the flesh acts like a little incubator, keeping them cozy and moist. It’s weirdly efficient, like a tiny, edible greenhouse.
Patience, Young Grasshopper
Now comes the hard part: waiting. Put your pot in a sunny spot and keep the soil damp but not soggy. Within a week or two, you’ll see a fuzzy green patch appear—it looks like a tiny forest of alien sprouts. This is where the fun really begins.
You might ask, “Won’t they get all tangled up?” Yes, they will. That’s okay. Once those sprouts have their first two proper leaves, you can gently separate them into their own pots. Think of it as plant kindergarten—they’re all sharing a sandbox until they’re ready for their own desks.
 How to Grow Tomatoes - The step-by-step Guide from Seeds to Harvest
Why This Feels So Cool
There’s something deeply satisfying about this process because it’s almost defiant. You’re taking something that was destined for a sandwich and turning it into a perpetual food source. It’s like if you bit into an apple and an apple tree grew out of your ear—but way less painful.
Plus, you get to watch the whole miracle happen from your kitchen windowsill. One day you’ve got a slice of Roma; a few weeks later, you’re staring at a tiny seedling that looks like it’s waving at you. “Hi, I’m your new roommate.”
The Science-y Part (Made Simple)
Here’s the real secret: tomato seeds are naturally programmed to germinate inside the fruit’s mushy interior. In the wild, a tomato drops, rots, and the seeds get a ready-made starter meal from the rotting flesh. You’re just simulating that in a pot.
The gel coating around each seed actually inhibits germination until the fruit decomposes. By slicing it and burying it, you’re tricking the seeds into thinking they’ve fallen into perfect soil. Nature is wild, right? It’s like giving them a fake-out “autumn” so they wake up early.
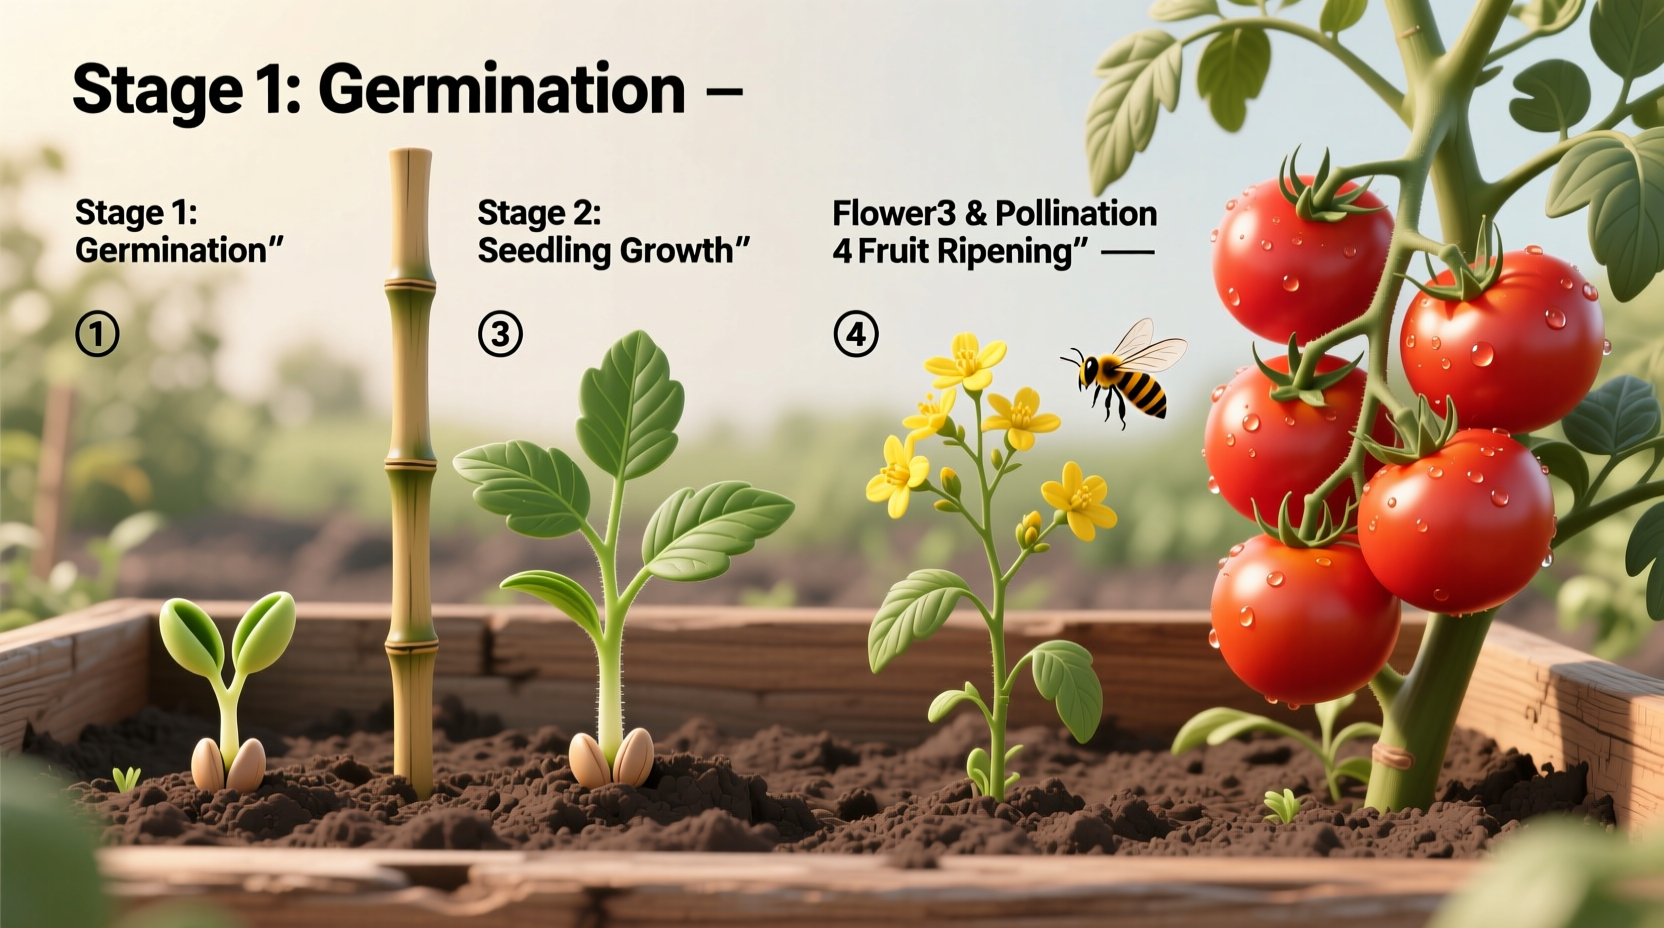 How to Cultivate Tomatoes: Step-by-Step Guide
Troubleshooting Your Tomato Slice
What if nothing happens? Don’t panic. Maybe your tomato was a hybrid and the seeds are sterile, or maybe you let the soil dry out. Just try again with a different tomato—locally grown, organic ones have the best success rate. It’s not a science experiment; it’s a snack-scapade.
And if you get mold? That’s okay. Scrape it off and give the soil a little more airflow. Mold is just nature’s way of saying, “Hey, this spot is too damp and dark.” Treat it like a friendly nudge, not a disaster.
The Harvest Payoff
In about two to three months, you’ll have a plant that’s tall, leafy, and covered in tiny yellow flowers. Those flowers are the promise of future tomatoes. And when that first little green globe appears, you’ll feel like a wizard. A sweaty, soil-under-the-fingernails wizard.
So go ahead. Raid your fridge, slice that tomato, and plant yourself a new obsession. It’s cheap, it’s easy, and it’s one of those rare kitchen projects where the mess actually grows into something beautiful. What have you got to lose, other than a slice of lunch?