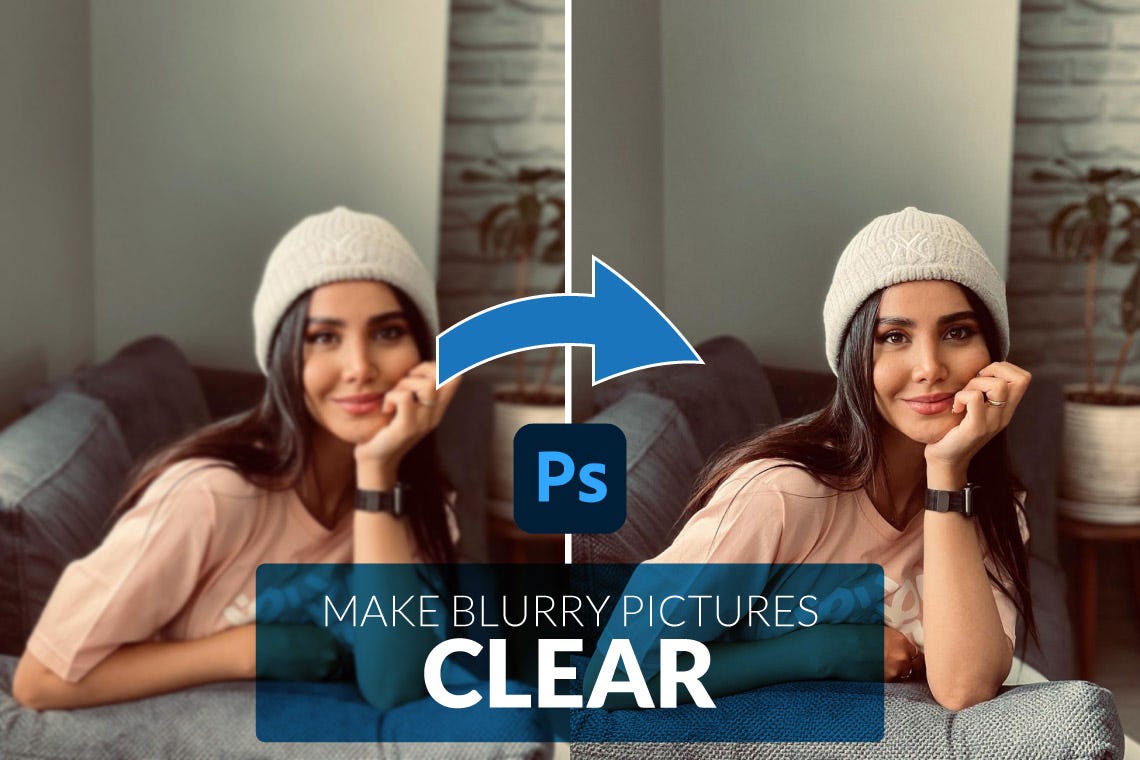
So, you’ve got the photo. The one that was supposed to be a masterpiece of modern photography. Instead, it looks like you took it while riding a pogo stick during a mild earthquake.
Relax. You don’t need a time machine or a $10,000 lens. You have Photoshop, which is basically a magic wand that works sometimes—and when it does, you get to feel like a digital wizard.
Step 1: Don’t Panic, But Do Manage Expectations
Let’s get one thing straight: Photoshop cannot resurrect a photo taken through a foggy window with a potato. That’s not a blurry photo; that’s a modern art piece.
Must Read
But if your image is just slightly mushy—like your brain on a Monday morning—we can fix it. You won’t get 4K resolution from a pixelated blob, but you will get something that doesn’t look like a crime scene recreation.
Step 2: The “Shake Reduction” Wonder
Open your blurry disaster in Photoshop. Go to Filter > Sharpen > Shake Reduction. Yes, it sounds like a charm from a Harry Potter spellbook, but it’s real.
Photoshop will analyze the blur pattern and guess how your hand was shaking. If you took the photo after three espressos, it knows. Hit “OK” and watch the magic—or, in some cases, watch it turn your friend’s face into a smudge that looks like a Picasso reject.
Pro tip: If the result looks like an oil painting of a nightmare, undo it. This isn’t magic, it’s math. And math can be a bit of a jerk.
Step 3: The “Smart Sharpen” Sleepover
If Shake Reduction fails, summon Filter > Sharpen > Smart Sharpen. This is the nuclear option for blurry photos, and it comes with sliders.
Set Amount to somewhere between 50% and 100%. Think of this as the “how badly do you want people to see your pores?” setting. Then move Radius to around 1.0 or 1.5 pixels. Any higher and your subject will look like they’re made of Lego bricks.
Here’s a surprising fact: Your eyes are hardwired to see edges. That’s why sharpening works—it exaggerates the contrast between light and dark areas, tricking your brain into thinking the photo is crisp. Evolution hates blurry tigers, so your brain loves sharp lines.
Step 4: The “Unsharp Mask”—Yes, the Name is Stupid
Don’t laugh at the name; it’s actually genius. Filter > Sharpen > Unsharp Mask is a tool that does the opposite of what it sounds like. It finds blurry areas and stabs them with clarity.
Use settings like: Amount 80%, Radius 1.0, Threshold 2. Then slowly increase the Amount until your photo looks like a crisp autumn leaf, not a porcupine explosion.
 How To Make A Blurry Photo Clear In Photoshop | Detroit Chinatown
Warning: If you go overboard, every wrinkle on Grandma’s face will look like the Grand Canyon. She won’t appreciate that. Subtlety is your friend.
Step 5: The Secret Weapon—High Pass Filter
Ready for a mind-blowing, coffee-spitting fact? The High Pass filter is used by NASA to sharpen satellite images. Okay, maybe not, but it sounds cool and it works.
Duplicate your layer (press Ctrl+J like you mean it). Then go to Filter > Other > High Pass. Move the slider until you see gray lines outlining your subject—usually a radius of 2 to 5 pixels.
Now set that layer’s blending mode to Overlay or Soft Light (both sound like yoga poses, but they’re not). Boom: instant crispiness, like the photo took a cold shower.
Step 6: The “Don’t Be a Hero” Rule
Here’s the real secret, the one that separates digital artists from digital barbarians: Save a copy of the original. Work on a duplicate layer. Always.
Because sometimes, after all this effort, your photo still looks like a drunk raccoon took it. And that’s okay. Not every blurry picture can be fixed. Some are just destined to be abstract wallpaper.
But when it works? Oh, when it works, you’ll feel like a god of pixels. You’ll post the photo on social media and people will say, “Wow, great shot!” And you’ll smile, knowing the truth: you wrestled a blur into submission using nothing but a mouse and a dream.
One Last Surprise
Fun fact: The human brain averages out blurry images in real-time. That’s why we don’t notice our own eye floaters—but a camera has no brain. It’s brutally honest. So when Photoshop fixes a photo, it’s really just doing the job your brain already does for you, but on a screen.
So next time you hand someone a blurry photo and say “I can fix that in post,” remember: you are not just editing. You are playing God with pixels. And God might laugh if you push the Sharpness slider too far.
Now go forth, sharpen responsibly, and never let a blurry photo ruin your day again. Unless it’s a really bad blur. Then just delete it and take another—I won’t tell anyone.