
So, you’ve got a concrete slab staring back at you. It’s cold, gray, and probably has a few mysterious cracks. And you’re thinking, “I should put vinyl on that.” Good call. It’s easier than you think, I promise. Grab a coffee (or a glass of wine, no judgment) and let’s talk it through.
First, Let’s Get Real About Your Concrete
Your concrete needs to be clean and dry. Like, really dry. If it’s damp, your vinyl will bubble and lift like a bad toupee. Do the plastic-sheet test: tape a square of plastic onto the floor for 24 hours. Any moisture under there? Stop. Fix that first. You don’t want to redo this in six months, do you?
Next, check for levelness. Grab a long level or just a straight 2x4. Place it on the floor. If you can rock it like a seesaw, you need a self-leveling compound. It’s a bag of magic powder you mix with water and pour. Trust me, it’s worth the hour of work. Nobody wants a wobbly floor.
Must Read
The Tools: Less Than You Think
You don’t need a full hardware store. Here’s the short list: a utility knife, a straightedge, a tape measure, and a rubber mallet. Oh, and a roller. A heavy one. You’ll roll the vinyl to press out air bubbles. It’s oddly satisfying, like popping bubble wrap but productive.
For glue-down vinyl (the most common for concrete), grab a notched trowel. The notch size matters—check the instructions on your glue. And get a knee pad. Your knees will thank you later. Seriously, you’re not in your twenties anymore.
Preparation Is Boring, But It’s Everything
Sweep the floor. Then sweep it again. Then vacuum. You’re looking for zero debris. A single pebble will show up through vinyl like a zit on prom night. Fill any cracks or holes with a patching compound. Let it dry. Sand it smooth. Your concrete should feel like a baby’s bottom—if babies had industrial flooring.
Now, acclimate your vinyl. Bring the boxes into the room and let them sit for 48 hours. Vinyl expands and contracts like a bad relationship. Let it adjust to the temperature and humidity. This step is non-negotiable. Don’t skip it, you impatient goof.
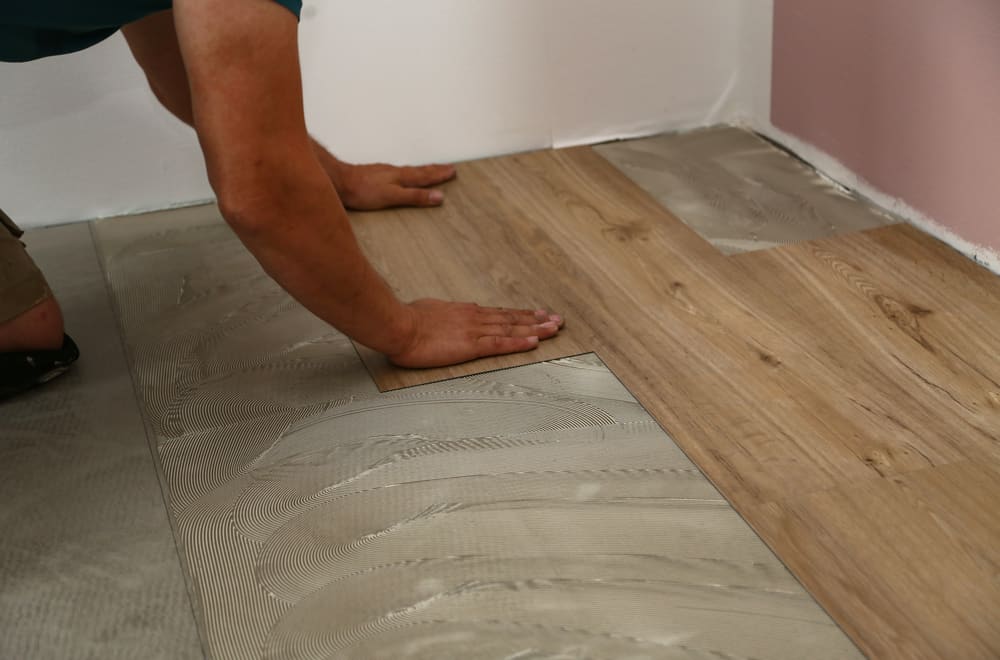 How to Install Vinyl Plank Flooring On Concrete? (Step-by-Step Tutorial)
Laying It Out: The Big Moment
Start with a full plank against your longest, most visible wall. But don’t just slap it down. Dry-lay a few rows first. This is your chance to see if the pattern looks weird or if you’ll end up with a tiny sliver of a plank at the end. Move the starting row if needed. You want the cut pieces to be at least six inches wide—otherwise it looks cheap.
For glue-down vinyl, spread the adhesive with your trowel. Work in small sections—like 3 feet by 3 feet. The glue dries fast. Too fast. So don’t spread it all at once. Lay the vinyl into the glue, press firmly, and roll it with that heavy roller. You’re not just decorating; you’re creating a bond.
For click-lock vinyl (the floating kind), you don’t need glue. Just click the planks together at an angle. It’s like Legos for adults. But leave a 1/4-inch gap around the walls for expansion. Use spacers. And remember: no glue, but you still need that gap. Seriously, don’t forget the gap or your floor will buckle.
The Tricky Bits: Doors and Corners
Doors are the worst part, I’m not gonna lie. You’ll have to undercut the door frame. Use a handsaw or a special tool called an undercut saw. Slide the vinyl underneath. It looks pro and saves you from weird cuts. Or, if you’re lazy (like me), just cut the vinyl to fit snugly around the frame. A sharp utility knife and steady hands do the trick.
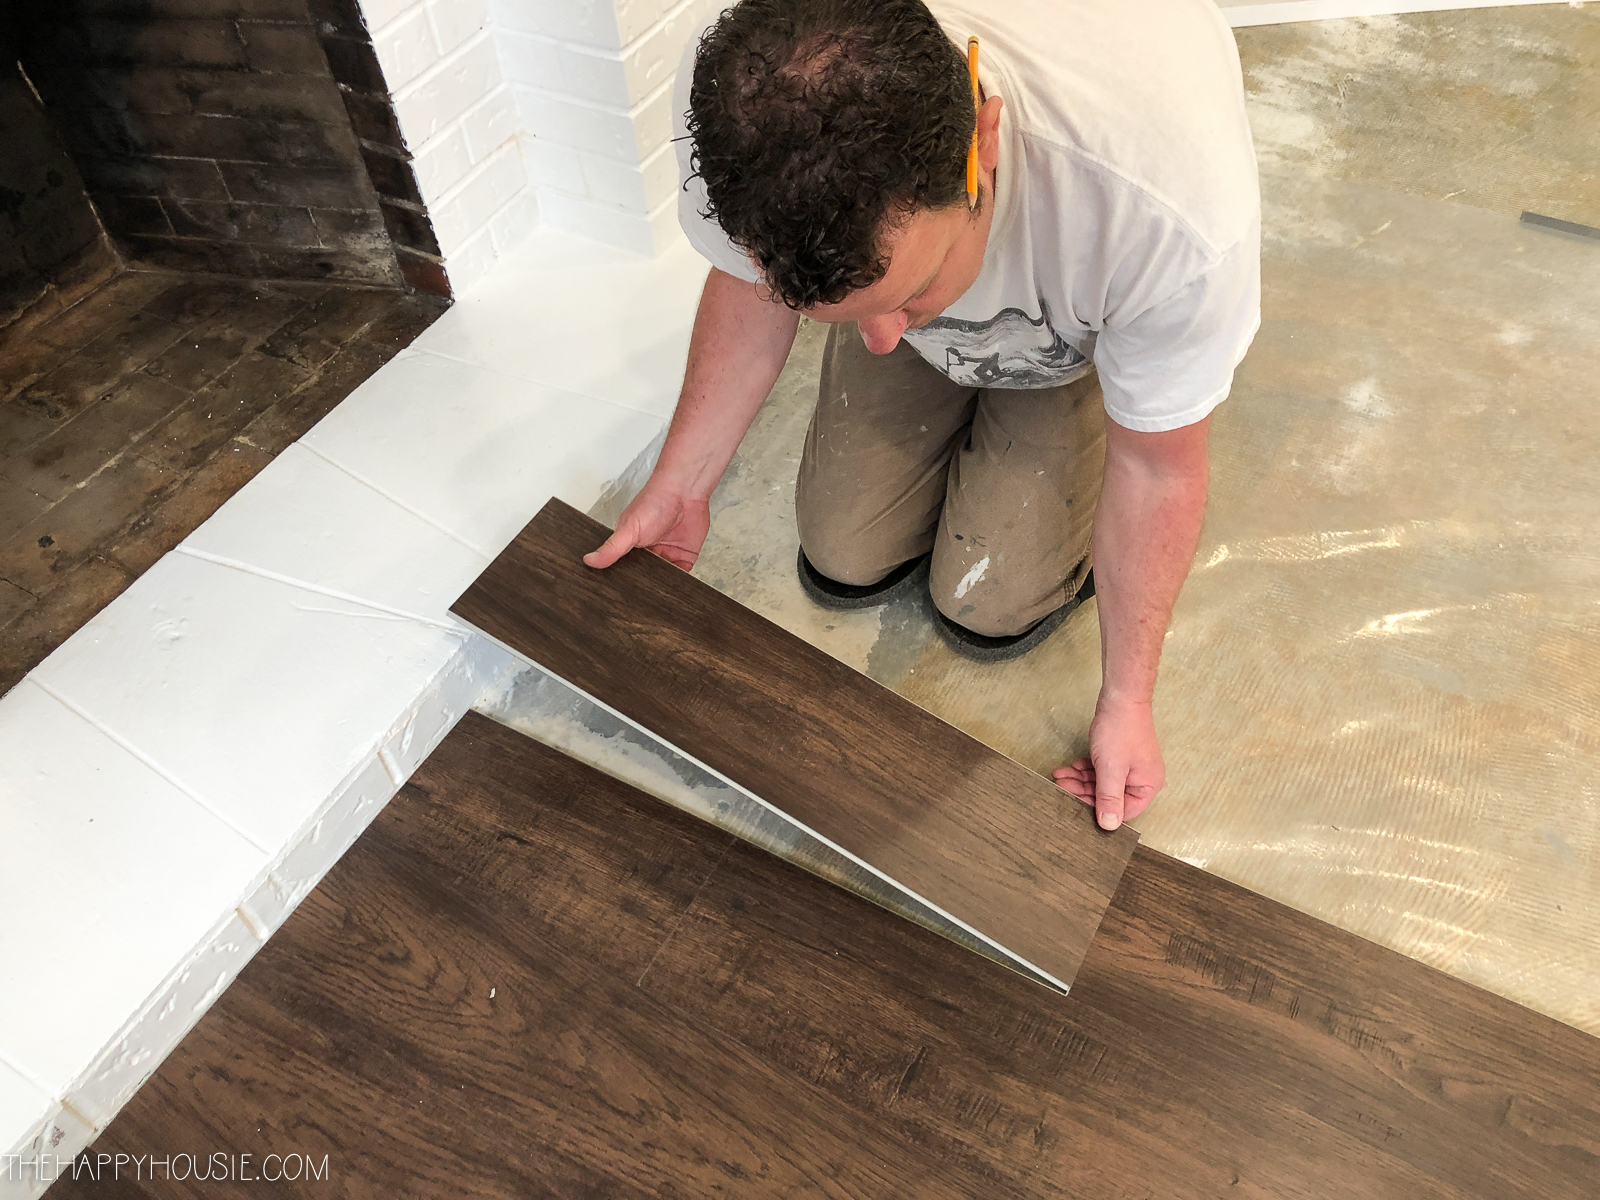 How To Lay Vinyl Plank Flooring On Concrete Slab | Viewfloor.co
Corners and pipes? Use a paper template. Trace the shape, cut the vinyl, and test-fit. Patience, grasshopper. You’ll mess up once. That’s okay. Buy extra vinyl—about 10% more than you think you need. You’ll thank me later.
Finishing Touches (The Fun Part)
Once all the vinyl is down, install the transition strips. These bridge the gap between your new floor and the carpet or tile next door. They snap into tracks you glue down. Easy peasy. And baseboards? Put them back up or install new ones. They hide that 1/4-inch expansion gap. Victory.
Now, walk on it. Really walk on it. Feel how solid it is. No wobbles, no bubbles. You did that. You transformed a cold concrete slab into a warm, stylish floor. Go ahead, show it off. Call your mom. She’ll be impressed. And if she asks, “Was it hard?” Just shrug and say, “Nah, it’s just like a puzzle with glue.”
One last thing: admire your work for a week before you put furniture on it. It’s your masterpiece. You earned it.