
I once stood in my kitchen, staring at a raw chicken breast like it owed me money. A friend had told me frying it would take “five minutes, tops.” Five minutes later, I was gnawing on a piece that was as dry as my grandmother’s Sunday roast. It was a disaster—and I knew I had to figure out the real timing.
That night, I learned a harsh truth: frying chicken breast is not a set-it-and-forget-it deal. It’s a delicate dance between heat, thickness, and your own patience. And let’s be real—nobody wants to serve a hockey puck with a side of regret.
So, how long does it actually take?
Here’s the short answer: about 6 to 8 minutes total for a standard, boneless, skinless breast. But, oh honey, that’s the safest kind of lie you can tell. The real time depends on how thick your breast is—and yes, that sounds ironic.
Must Read
If you’re working with a thinner cut (say, half an inch), you’re looking at 3 to 4 minutes per side. Thicker ones (an inch or more) need 5 to 6 minutes per side. And if you’re using a pan that’s too hot? You’ll get a burnt crust and a raw center. Been there, cried about it.
The golden rule: use a meat thermometer
I know, I know—you don’t want to be that person poking holes in your dinner. But trust me, a thermometer is your best friend. The USDA says chicken is safe at 165°F (74°C). That’s the magic number. Cook it to 160°F, then let it rest; the carryover heat will push it to 165°F. No more guessing games.
And here’s a side comment: if you’re frying without a thermometer, you’re basically playing Russian roulette with salmonella. Don’t do it. A $10 investment saves you from a $200 trip to the ER.
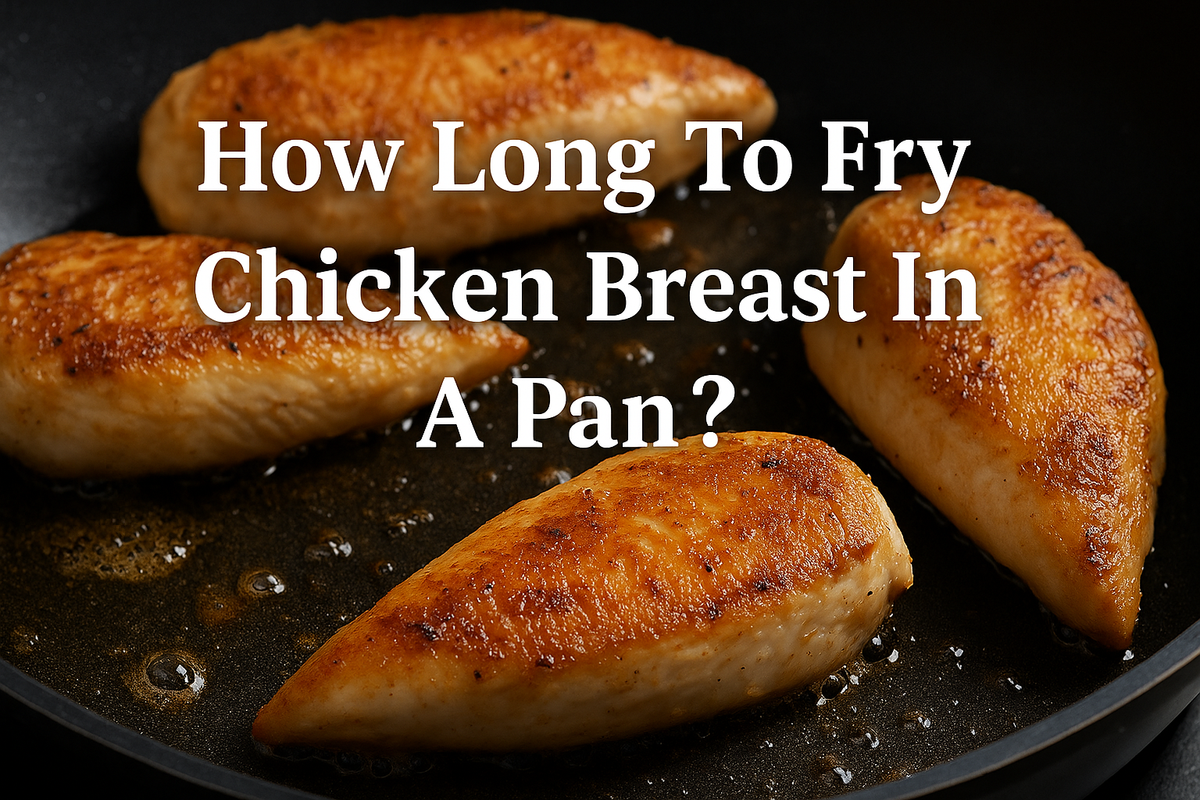 How Long To Fry Chicken Breast In A Pan? - The Living Styles NZ
Don’t forget the prep—it’s half the battle
Before you even turn on the stove, pound that breast to an even thickness. Use a rolling pin, a wine bottle, or your fist (just wash it first). Why? Because uneven thickness means uneven cooking. Thick parts stay raw, thin parts turn to jerky. I learned this after serving a “half-rare, half-burnt” breast to my in-laws. They didn’t come back for seconds.
Also, salt it at least 15 minutes in advance. This isn’t just for flavor—it helps the meat retain moisture. Think of it as a tiny spa treatment for your chicken. You deserve the best, and so does your dinner.
The pan matters more than you think
Use a heavy pan like cast iron—it holds heat evenly. Avoid non-stick if you can; it doesn’t get hot enough for a good sear. And don’t overcrowd the pan. If you drop in two breasts at once, they steam instead of fry. You want sizzle, not a sauna.
Here’s a pro tip: pat the chicken dry with paper towels before seasoning. Wet chicken sticks to the pan and won’t brown. I’m not saying you need to be obsessive, but a dry surface is the difference between golden-crusted and sad, pale meat. Do you want sad meat? No. You want happy meat.
 How to Fry the Perfect Chicken Breast
What about flipping? Don’t be a helicopter chef
Let it cook undisturbed for the first 4 minutes. Resist the urge to poke, prod, or flip it early. If it sticks, it’s not ready. When it releases easily, it’s time to flip. This is the zen of frying chicken. Once flipped, cook another 3–5 minutes, then check the temp.
And when it’s done? Let it rest for 5 minutes on a cutting board. Don’t slice it right away—you’ll lose all those precious juices. Cover it loosely with foil if you must. This is the hardest part, I swear.
Final thoughts from a former chicken butcher
Look, I still mess up sometimes. Last week I got distracted and cooked a breast for 12 minutes. It was like eating a sneaker. But now I know the signs: golden brown crust, internal temp at 160°F, and a little give when you press it. That’s the sweet spot.
So next time you’re standing over the stove, remember: frying chicken breast is an art, not a race. Give it time, give it love, and for the love of all that is crispy, use a thermometer. Your taste buds (and your dinner guests) will thank you.