
Let’s be honest: quiche is the Beyoncé of brunch. It’s fancy enough for a special occasion, yet simple enough for a Tuesday night. But there’s one thing that can ruin the whole show: a soggy bottom. Nobody wants a quiche that leaks butter like a broken heart. That’s where the pre-baked crust comes in to save the day.
Think of pre-baking as giving your crust a head start. You’re essentially baking the pastry shell on its own before you pour in the magical eggy custard. This single step transforms a floppy crust into a crisp, golden fortress. It’s like sending the crust to the gym before the big game. The result? A sturdy foundation that holds up to all that luscious filling.
Why You Absolutely Must Blind Bake
You might be tempted to skip this step. You might think, “I’m in a hurry, and the filling will just cook it anyway.” Let me stop you right there. That is how you get a doughy, sad mess. The liquid custard will seep into the raw dough and turn it into paste. It’s a tragedy, and we’re here to prevent it.
Must Read
Blind baking (that’s the fancy French term for pre-baking a crust) does two things. First, it sets the structure so the crust doesn’t shrink into a weird, puckered shape. Second, it evaporates moisture, creating a barrier that repels the wet filling. It’s basically magic, but with butter.
Tools of the Trade (You Don’t Need Much)
The only special tool you really need is parchment paper or aluminum foil. You’ll also need something heavy to weigh down the dough while it bakes—this is called “pie weights.” If you don’t have fancy ceramic beads, grab a bag of dried beans or some dry rice. I once used a handful of old pennies wrapped in foil. Desperate times.
Do not skip the weights. Without them, the sides of your crust will slump down like a deflated soufflé. We want a tall, proud crust, not a shallow bowl. Your quiche deserves a nice, deep home.
The Step-by-Step (It’s Easier Than You Think)
First, roll out your pastry and press it into your pie dish. Don’t forget to crimp the edges—make them cute, like a little pie smile. Then, poke the bottom all over with a fork to let steam escape. This prevents giant air bubbles from forming under the crust.
Next, line the inside of the crust with a sheet of parchment paper. Fill it up with your weights (beans, rice, or pennies). Now, bake it at 375°F (190°C) for about 15 minutes. This is called the “par-bake” stage. After 15 minutes, carefully lift out the paper with the weights (they’ll be hot, so use oven mitts!).
Now, put the crust back in the oven for another 5 to 7 minutes. This second bake—without weights—dries out the bottom and gives it that beautiful golden color. You want it to look like a sandy, pale tan. Not brown like toast, but not white like a ghost.
 Best Crab Quiche Recipe: Elegant and Delicious Dish
But Wait—Do I Need Egg Wash?
Ah, great question, my quiche-curious friend. Some people brush the crust with an egg wash (beaten egg) before that final bake. This creates a waterproof seal, like painting a boat hull. It’s optional, but it does add a glossy, professional finish. I do it because it makes me feel like a TV chef.
If you’re using a store-bought crust, you can still blind bake it! Just follow the same method, but reduce the time by a couple minutes. The world of pre-baked crust welcomes all, even the frozen kind. No shame in the shortcut game.
How to Know When It’s Done
The crust is ready when it feels dry and firm to the touch. If you tap the bottom with a fork, it should sound hollow, like knocking on a tiny door. If it feels soft or looks shiny, give it two more minutes. Patience, grasshopper.
Let the blind-baked crust cool completely before you add the filling. Hot crust + cold custard = broken dreams. Trust me, I’ve been there. Wait at least 15 minutes, or until it’s cool enough to kiss without burning your lips.
A Quick Note on Filling Temperature
Your quiche filling should be room temperature when you pour it in. If it’s ice cold, it will shock the warm crust and make it soggy anyway. Yes, it’s a fussy little tart, but it’s worth it. Think of it as a high-maintenance friend who always looks amazing.
While the crust cools, whisk your eggs, cream, cheese, and whatever else you’re adding (bacon, spinach, mushrooms—the world is your oyster). Pour it gently into the pre-baked shell, then bake until set. The result is a flaky, buttery crust that holds a silky, creamy filling. Perfection.
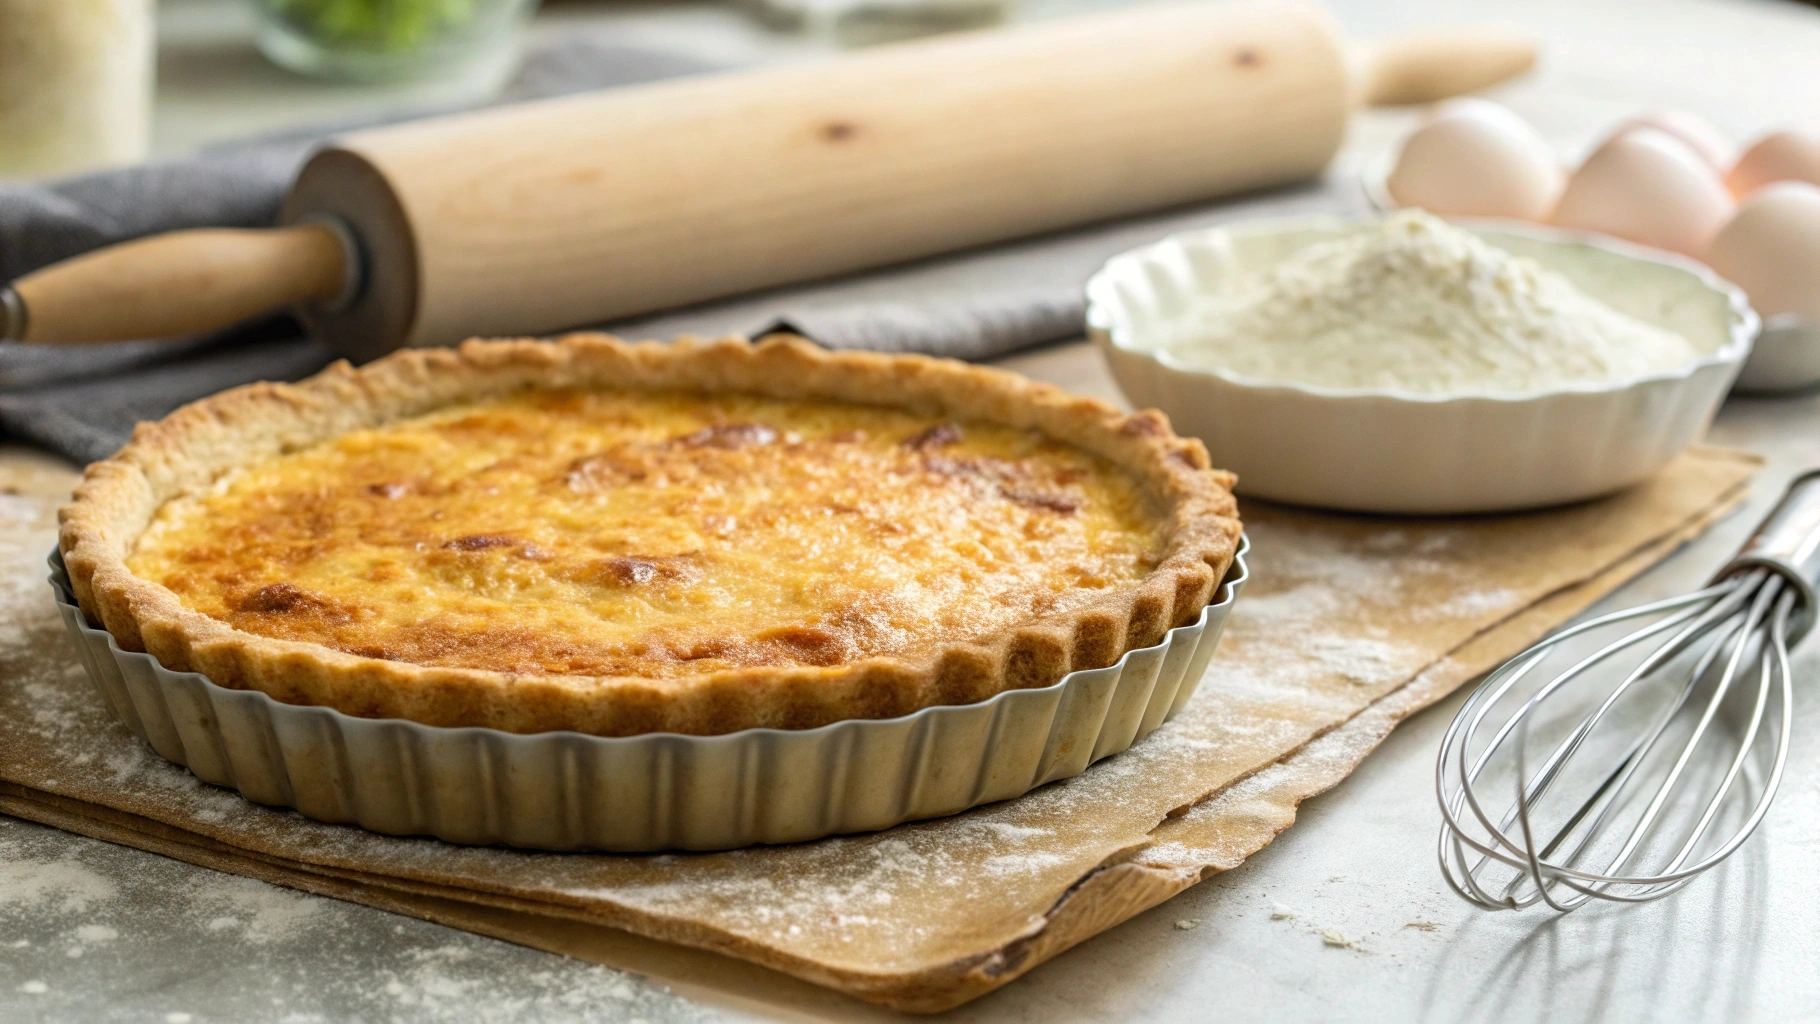 How to Pre-Bake Quiche Crust for a Perfectly Crispy Base
Troubleshooting Your Crust
Is your crust shrinking? That means you stretched the dough too much when you rolled it. Dough needs to relax in the fridge for 30 minutes before baking. It’s not being difficult; it’s just resting.
Is it cracking? You might have poked too many holes, or the dough was too dry. Add a tablespoon of cold water next time. And if all else fails, serve it in a bowl and call it “deconstructed quiche.” People will think you’re a genius.
Remember, a crumble is not a tragedy. It’s just rustic charm. You made it with love, and love covers a multitude of baking sins.
The Payoff
When you slice into a quiche with a pre-baked crust, you’ll hear a delightful crackle. That’s the sound of success. No sogginess, no floppy edges—just pure, structured deliciousness. Your brunch guests will weep with gratitude.
You’ll feel like a kitchen wizard, and honestly, you are. You mastered the single most important step in quiche-making. The rest is just whisking and pouring. Go ahead, take a bow.
Final Thought (No Pun Intended)
So, next time you’re staring at a recipe that says “pre-bake the crust,” don’t roll your eyes. Embrace it. It’s not an extra step; it’s an act of love for your future self. Your taste buds will thank you.
And hey, if you burn the crust? That’s just caramelization with character. Call it “bold.” Serve it with a side of confidence. You’ve got this, chef. Now go make a quiche that would make a French grandma cry happy tears. You’re amazing.